1. Connecting your camera to PC
Connect your camera to the computer using its interface cable or a USB cable (sold separately), and launch the EOS Utility.

Click [Web Service settings].

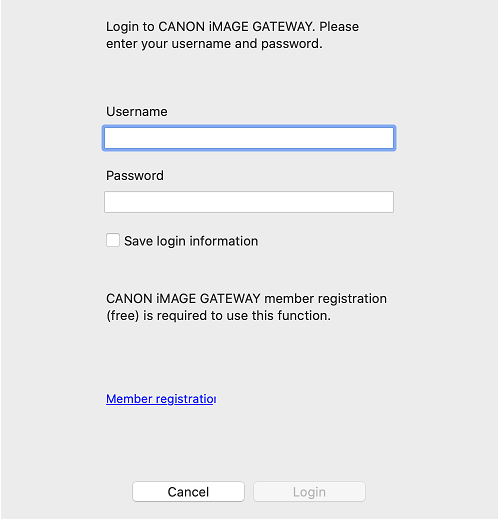
2. Logging in to image.canon
The login screen will be displayed. Enter the email address associated with your Canon ID and your password, and click [Log in].
Enter your Canon ID email address and password even if the CANON iMAGE GATEWAY login screen is displayed.
Enter your Canon ID email address and password even if the CANON iMAGE GATEWAY login screen is displayed.
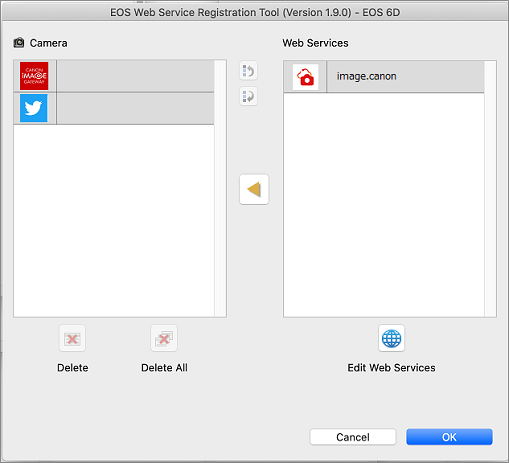
3. Setting image.canon
Select the image.canon icon from the Web Service field on the right-hand side, click [←], and add it to the Camera field on the left. If there are any other items besides image.canon in the camera field, please delete them. Click [OK] to update the camera settings.
Note
After completing these steps, press [Next] at the bottom of this screen. You will be logged out, so please log in again.
Since the second half of 2025, EOS 5D Mark IV and EOS 2000D cameras purchased in the EMEA region (Europe, Middle East, and Africa) no longer support connections to image.canon. As a result, camera settings will not be updated after clicking OK. Please check the FAQ for more details.