How to use
Please click here if you are using image.canon for the first time. If you have a Wi-Fi-compatible Canon camera, please connect it to image.canon.
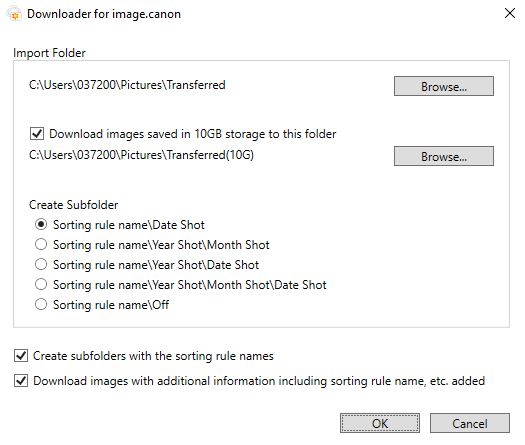
Install the PC software Downloader for image.canon on your computer. Launch the software, log in to image.canon, and set the save destination for downloaded images.
Wirelessly upload images to image.canon from your camera. All image files (still images, videos, and raw files) that have been uploaded directly from your camera can be automatically downloaded. From Jun 30 2025 onwards, images imported through the Camera Connect integration will be automatically downloaded as well.
If an image upload to image.canon from your camera is detected by the Downloader for image.canon software, the original image files will be saved to the specified folder on your PC. Original files that have passed the storage expiration and have been deleted will not be downloaded.
Setting up Downloader for image.canon
| Operating environment | Windows 11 / macOS 26 / macOS 15 / macOS 14 |
|---|---|
| Setup procedure |
|
Automatic download of images for which the still image sorting rules were used
